3 Common Car Wrap Mistakes and How to Avoid Them
Discover the common pitfalls when wrapping your car We identify potential errors and offer solutions for a successful install Ensure your car wrap project is a success from start to finish

So, you're thinking about wrapping your car? Awesome! Car wraps are a fantastic way to change up your ride's look without the commitment (or cost) of a full paint job. Plus, they protect your original paint underneath. But let's be real, wrapping a car isn't exactly a walk in the park. It's a skill, and like any skill, there are definitely some common mistakes people make. Don't worry, though! We're here to guide you through the process and help you sidestep those potential pitfalls. Let's dive in!
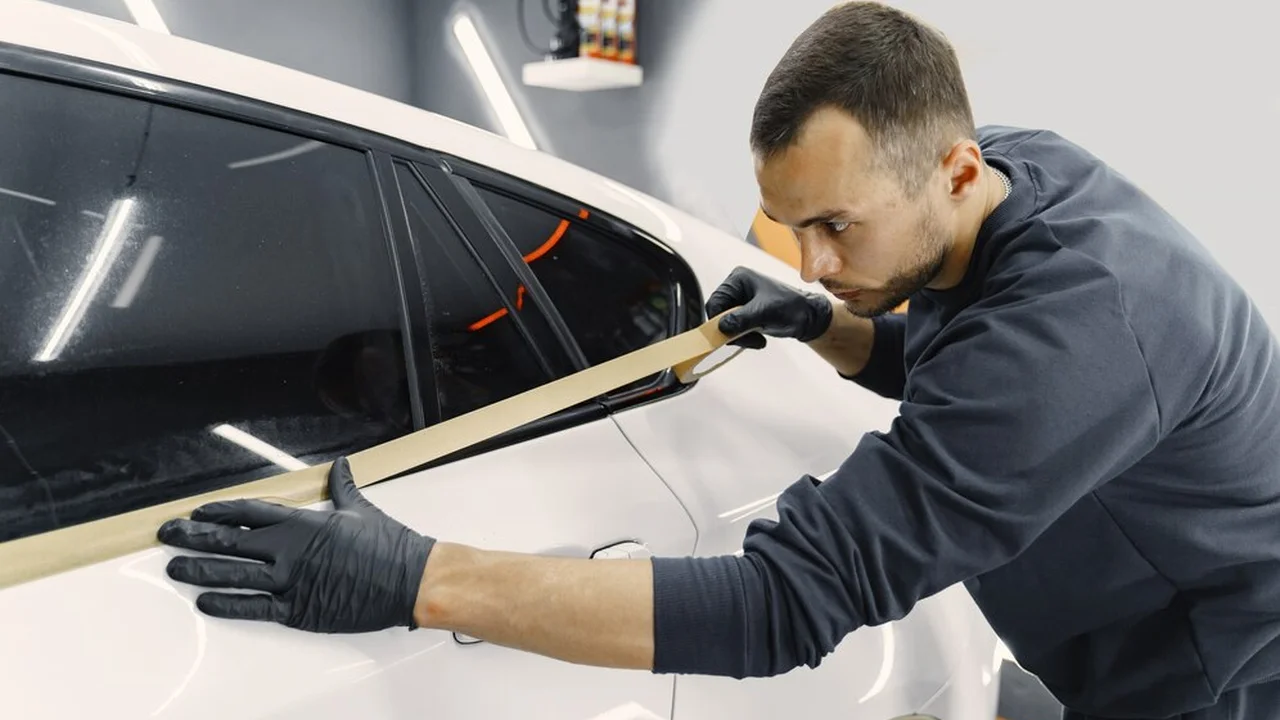
Mistake 1 Poor Surface Preparation Leading to Vinyl Adhesion Problems
This is HUGE. Seriously, you can't skip this step. Think of it like painting a wall – you wouldn't just slap paint on without cleaning and priming, right? The same goes for car wraps. A dirty, contaminated surface is a vinyl wrap's worst enemy. If you don't prep properly, the vinyl won't adhere correctly, leading to bubbles, peeling, and a generally terrible-looking wrap.
The Problem: Dirt, wax, grease, bird droppings, tree sap – all these things create a barrier between the vinyl and your car's paint. Even microscopic imperfections can cause issues.
The Solution: Be meticulous! Here's a step-by-step guide:
- Wash Thoroughly: Start with a good old-fashioned car wash. Use a pH-neutral car soap and a soft microfiber wash mitt. Rinse thoroughly to remove all soap residue.
- Clay Bar Treatment: This is where you get rid of embedded contaminants that washing alone can't remove. Use a clay bar with a lubricant to gently rub over the surface of your car. You'll feel it pick up the contaminants.
- Isopropyl Alcohol (IPA) Wipe Down: This is your final cleaning step. Mix IPA (70% concentration is ideal) with distilled water in a spray bottle (about a 50/50 mix). Spray the mixture onto a microfiber cloth and wipe down the entire surface you'll be wrapping. This removes any remaining residue and ensures a perfectly clean surface.
- Tack Cloth (Optional): For an extra level of cleanliness, you can use a tack cloth after the IPA wipe down to remove any remaining lint or dust particles.
Product Recommendations:
- Car Soap: Meguiar's Gold Class Car Wash Shampoo & Conditioner
- Clay Bar Kit: Chemical Guys Clay Bar Kit (includes clay bar, lubricant, and microfiber towels)
- Isopropyl Alcohol: Available at most pharmacies or hardware stores (ensure it's at least 70% concentration)
- Microfiber Towels: Chemical Guys Microfiber Towels
Scenario: Imagine you're wrapping your hood. You skip the clay bar step because you think your car is relatively clean. After applying the vinyl, you notice tiny bumps and imperfections under the wrap. These are contaminants that weren't removed, and now they're trapped under the vinyl, ruining the smooth finish.
Comparison: Compare this to properly prepping the surface. The clay bar removes all those embedded contaminants, resulting in a smooth, flawless finish after the vinyl is applied.
Cost: Clay bar kits typically range from $20-$40. IPA is very inexpensive, usually under $10 for a bottle.
Mistake 2 Overstretching the Vinyl Resulting in Tears and Poor Fit
Vinyl wrap is designed to be flexible, but it's not infinitely stretchy. Overstretching the vinyl is a common mistake, especially when working around curves and edges. This can lead to tears, discoloration, and a poor fit.
The Problem: When you overstretch vinyl, you're thinning it out. This makes it more prone to tearing and also changes its color and finish. Overstretched vinyl also tends to shrink back over time, which can cause edges to lift and the wrap to fail prematurely.
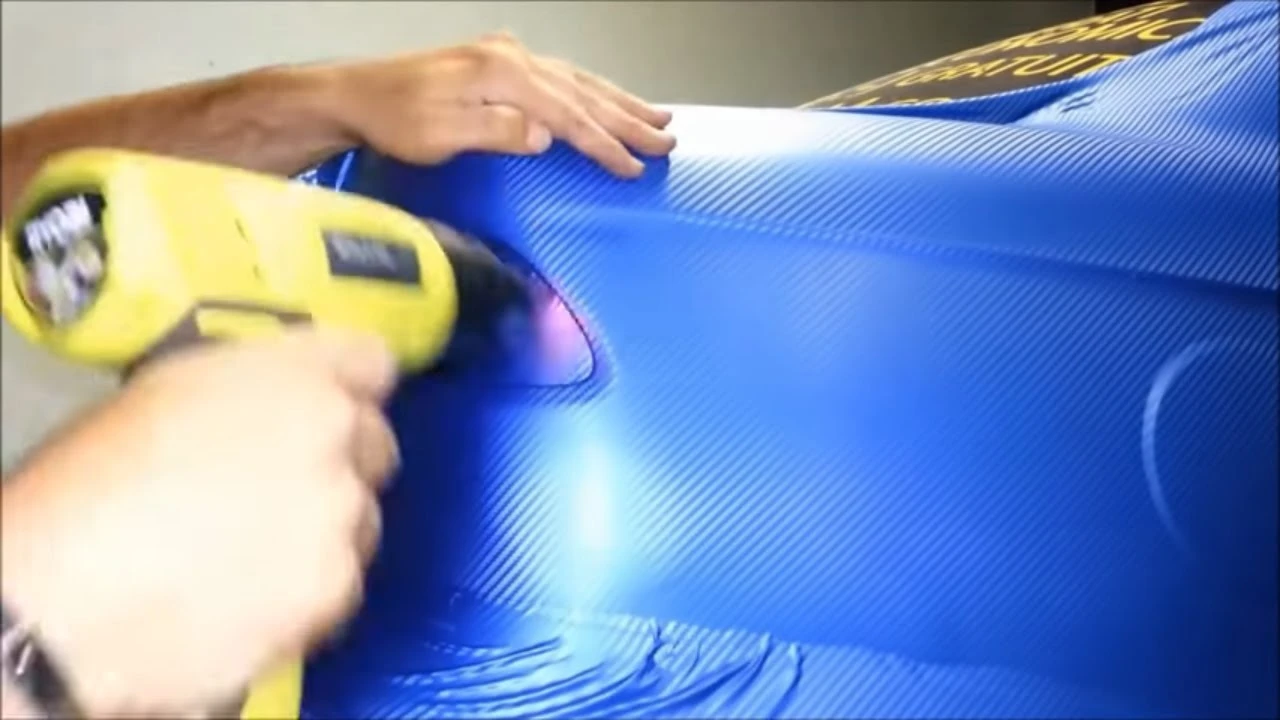
The Solution: Use heat wisely and work in sections. Here's how:
- Heat Gun Control: A heat gun is your friend, but it can also be your enemy. Use it sparingly and keep it moving. Don't hold it in one spot for too long, as this will overheat and damage the vinyl.
- Work in Sections: Don't try to wrap an entire panel in one go. Break it down into smaller, manageable sections. This allows you to control the stretching and ensure a proper fit.
- Use Relief Cuts: When wrapping around complex curves, make small relief cuts in the vinyl. This allows the vinyl to conform to the shape without overstretching.
- Post-Heating: After applying the vinyl, use the heat gun to post-heat the edges and curves. This helps to set the vinyl and prevent lifting.
Product Recommendations:
- Heat Gun: Wagner HT1000 Heat Gun (variable temperature settings are ideal)
- Squeegee: Avery Dennison Squeegee (with felt edge to prevent scratching)
- Vinyl Wrap Knives: Olfa Vinyl Wrap Knives (for precise relief cuts)
Scenario: You're wrapping a side mirror. You try to stretch the vinyl over the entire mirror in one go, without using heat or relief cuts. The vinyl tears in several places, and the color is noticeably different in the stretched areas. You've wasted a piece of vinyl and need to start over.
Comparison: Now, imagine using heat to make the vinyl more pliable and making small relief cuts around the curves of the mirror. The vinyl conforms perfectly to the shape without tearing or discoloration, resulting in a professional-looking wrap.
Cost: A good heat gun can range from $30-$100. Squeegees and knives are relatively inexpensive, typically under $20 each.
Mistake 3 Trapping Air Bubbles Under the Vinyl Causing a Bumpy Appearance
Air bubbles are the bane of any car wrapper's existence. They create a bumpy, unprofessional-looking finish and can even weaken the adhesion of the vinyl.
The Problem: Air gets trapped between the vinyl and the car's surface during application. This can happen due to improper squeegeeing, uneven surface preparation, or simply not working carefully enough.
The Solution: Squeegee correctly and use a heat gun to release stubborn bubbles:
- Squeegee Technique: Use a squeegee with a felt edge to avoid scratching the vinyl. Start in the center of the panel and work your way outwards, using firm, overlapping strokes.
- Overlap Strokes: Overlapping your squeegee strokes ensures that you're not leaving any gaps where air can get trapped.
- Heat Gun for Stubborn Bubbles: If you encounter a stubborn air bubble, use a heat gun to gently warm the vinyl. This will make it more pliable and allow you to squeegee the bubble out.
- Pin Prick (As a Last Resort): If you can't squeegee the bubble out, use a pin to carefully prick the vinyl. Then, squeegee the air out through the tiny hole. This should only be used as a last resort, as it will leave a small mark on the vinyl.
Product Recommendations:
- Squeegee: Avery Dennison Squeegee (with felt edge)
- Heat Gun: Wagner HT1000 Heat Gun
- Pin: A fine needle or pin
Scenario: You're wrapping a door panel. You apply the vinyl and start squeegeeing, but you don't overlap your strokes. You end up with several large air bubbles trapped under the vinyl. The door panel looks bumpy and unprofessional.
Comparison: This time, you overlap your squeegee strokes and use a heat gun to gently warm the vinyl around any stubborn bubbles. You're able to squeegee out all the air, resulting in a smooth, flawless finish.
Cost: As mentioned before, a squeegee is typically under $20, and a heat gun ranges from $30-$100.
Product Recommendations: Top Vinyl Wrap Brands and Their Uses
Choosing the right vinyl is crucial. Here are a few top brands and their ideal uses:
- Avery Dennison: Known for its high-quality films and wide range of colors and finishes. Excellent for full car wraps and complex designs. Price range: $200-$500 per roll (depending on size and finish).
- 3M: Another top brand with a reputation for durability and ease of installation. Offers a variety of films, including color change wraps, textured wraps, and protective films. Price range: $250-$600 per roll.
- Oracal: A more budget-friendly option that still offers good quality and a decent selection of colors. Suitable for simpler wraps and accents. Price range: $150-$300 per roll.
Tools of the Trade: Must-Have Car Wrapping Accessories
Having the right tools makes a huge difference. Here's a rundown of essential accessories:
- Heat Gun: For conforming the vinyl to curves and releasing air bubbles.
- Squeegee: For applying the vinyl smoothly and removing air.
- Vinyl Wrap Knives: For making precise cuts and trimming excess vinyl.
- Microfiber Towels: For cleaning the surface and wiping down the vinyl.
- Isopropyl Alcohol (IPA): For cleaning the surface and removing residue.
- Clay Bar Kit: For removing embedded contaminants from the paint.
- Gloves: To prevent fingerprints and oils from transferring to the vinyl.
- Measuring Tape: For accurately measuring the vinyl needed.
Wrapping your car can be a rewarding DIY project, but it's important to be aware of the common mistakes and take steps to avoid them. By properly preparing the surface, using heat wisely, and squeegeeing carefully, you can achieve a professional-looking wrap that will turn heads and protect your car's paint. So, grab your tools, choose your vinyl, and get wrapping!
:max_bytes(150000):strip_icc()/277019-baked-pork-chops-with-cream-of-mushroom-soup-DDMFS-beauty-4x3-BG-7505-5762b731cf30447d9cbbbbbf387beafa.jpg)